折腾:
期间,需要去:
想办法搞清楚,PyCharm中,如何去调试,本身用pipenv创建的虚拟环境中的python3的文件
pycharm debug pipenv
python – How do I properly setup pipenv in PyCharm? – Stack Overflow
找到对应的项目所在的虚拟环境中的python的解析器,加到PCharm中即可
去找找
PyCharm 2017.3 is out now! | PyCharm Blog
“Jeks says:
December 3, 2017 at 9:10 am
Will you support pipenv in feature ?
Reply
Paul Everitt says:
December 4, 2017 at 2:32 pm
Can you vote (the thumbs-up in bottom right) on this ticket and add any comments you might have? Do it soon, as our roadmap meeting is this week.”
好像还没有支持pipenv?
My somewhat pragmatic approach towards pipenv – Dirtycoder
PyCharm+PipEnv本地Python开发环境配置 | 萧爽楼
这个更先进,直接在本地修改代码,自动同步到远端服务器,远程调试python
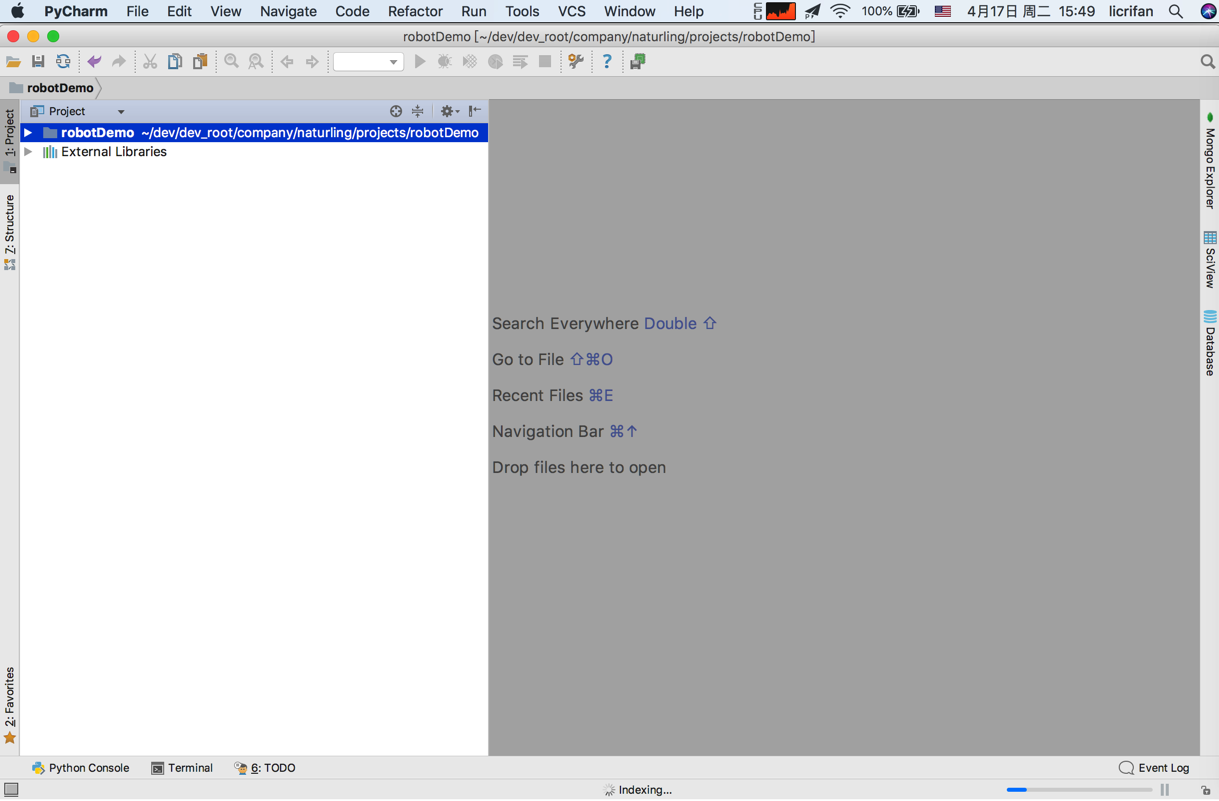
去新建一个PyCharm的python3代码,再说
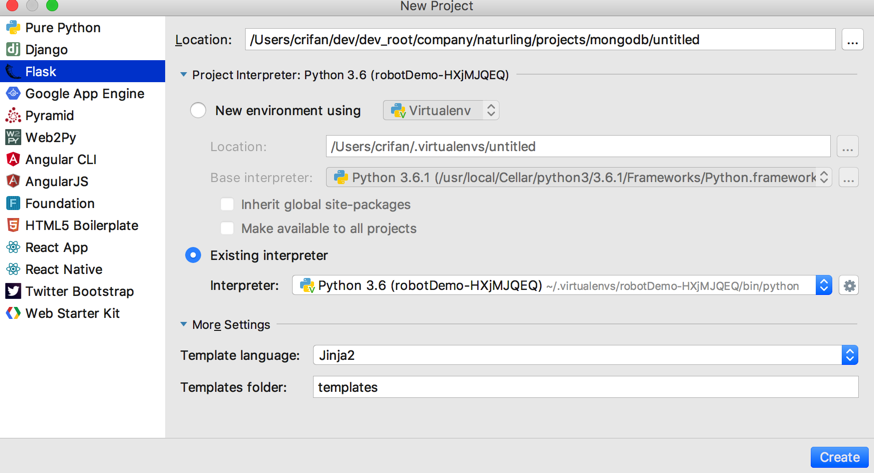
选择Flask
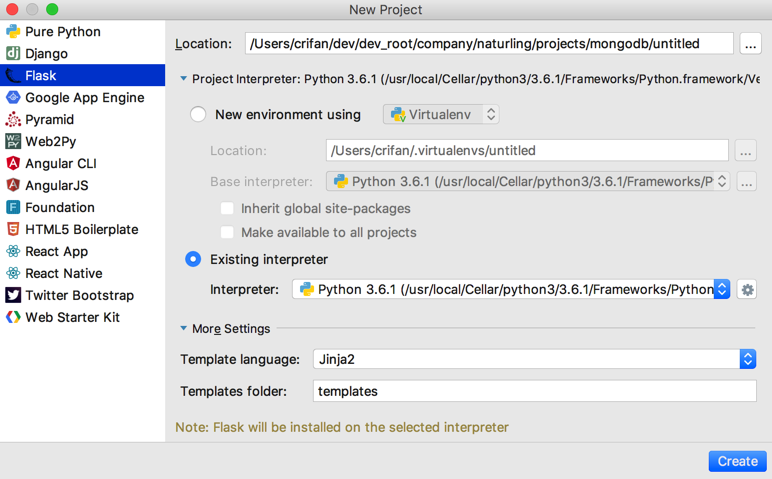
再去点击Existing interpreter的配置按钮:

看到提示是:
Note: Flask will be installed on the selected interpreter
->看来PyCharm针对于虚拟环境支持的很好了:
可以弹出:
而上面那句话应该就是:
新建一个Flask的项目,且解析器用了某个虚拟环境中的python解析器后,
PyCharm会自动帮你安装Flask到该虚拟环境中-》PyCharm真的是足够智能啊
不过我刚才已经自己安装了,现在看看其帮我装Flask,会有什么效果
看看列表,目前只有一个虚拟环境:
然后解析了一会,就可以检测到了:
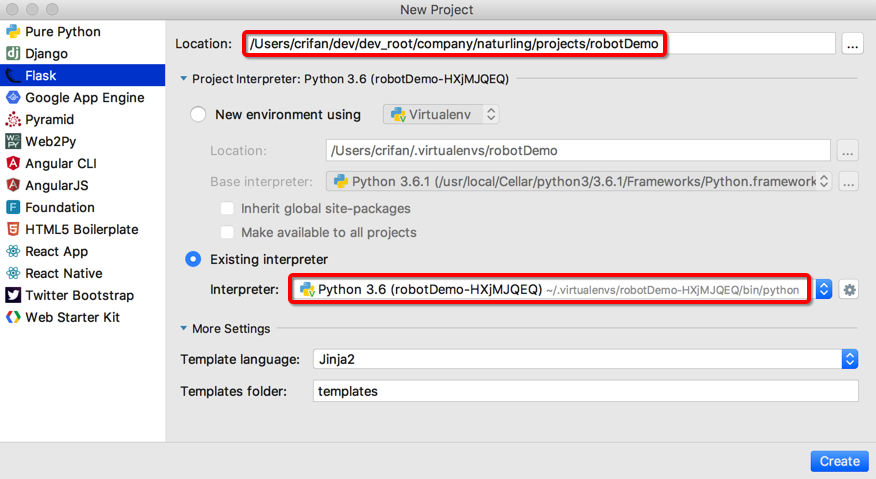
设置好要创建的路径:
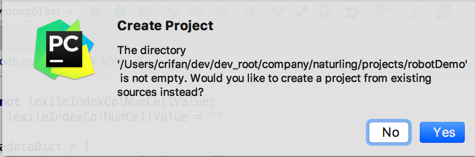
点击Create后
其发现该目录有文件,问是否从已有源码中创建项目,点击Yes:
indexing建立索引:
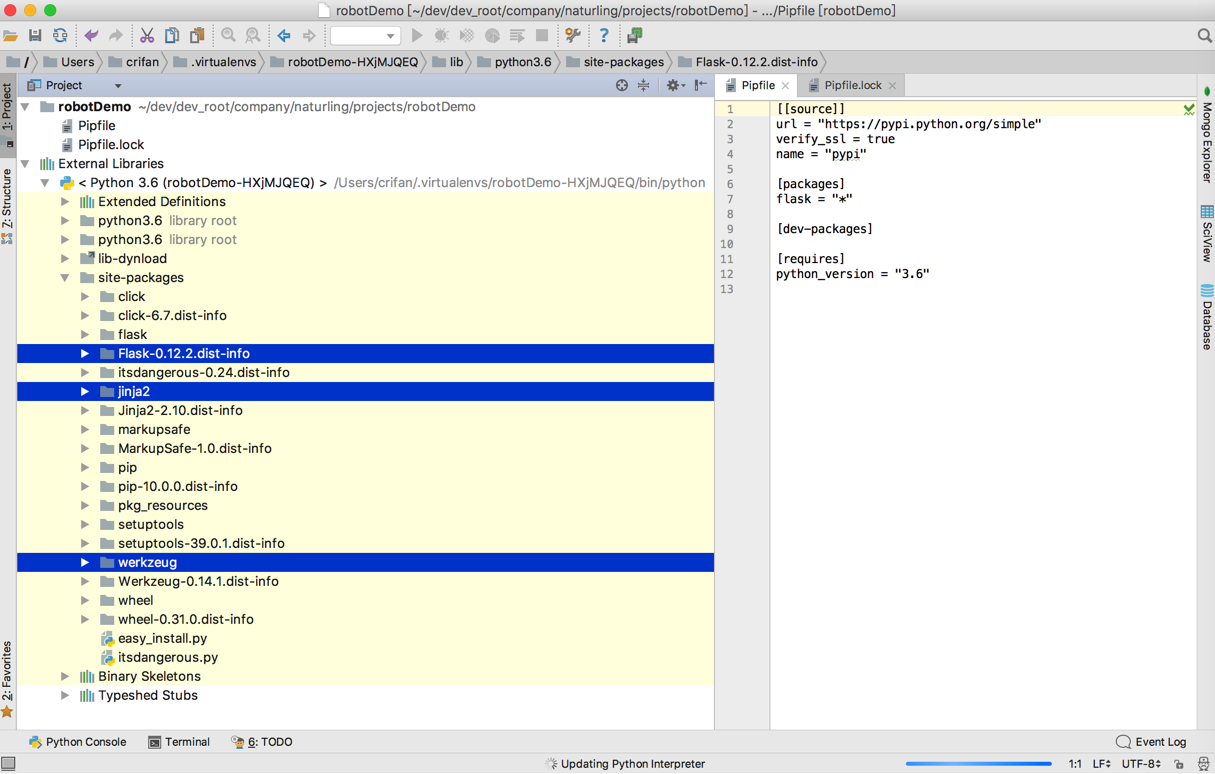
可以看到此虚拟环境中相关的python3的库都可以正常检测到:
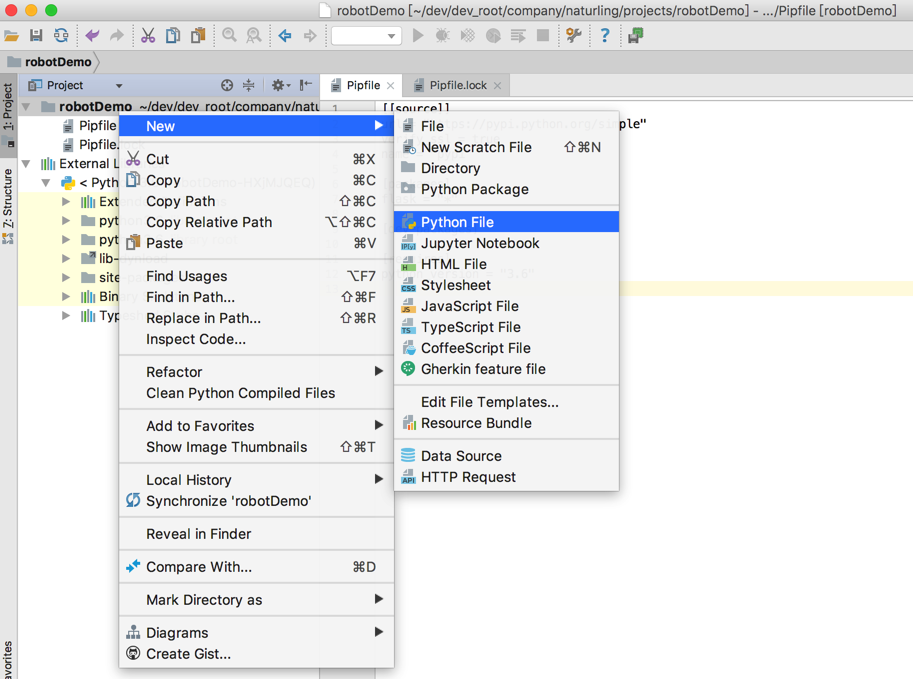
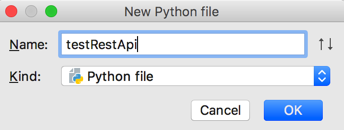
然后新建python代码:
<code>from flask import Flask

app = Flask(__name__)


@app.route("/")
def test():
    return "Mac local Flask within pipenv work now !"


if __name__ == "__main__":
    app.run()
</code>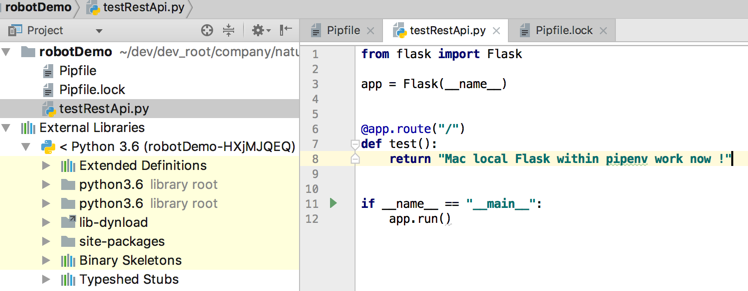
再去(想办法)测试是否能正常(在虚拟环境中)运行python3的代码:
去添加调试的配置:
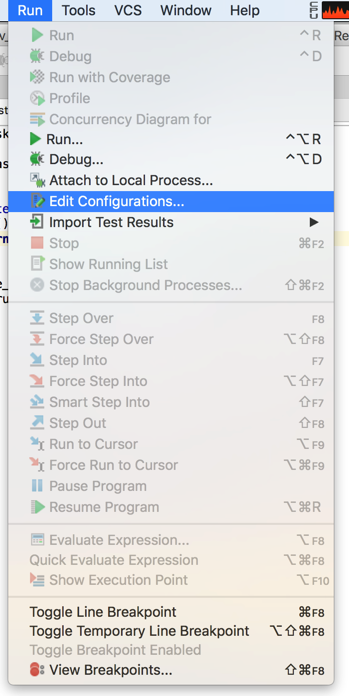
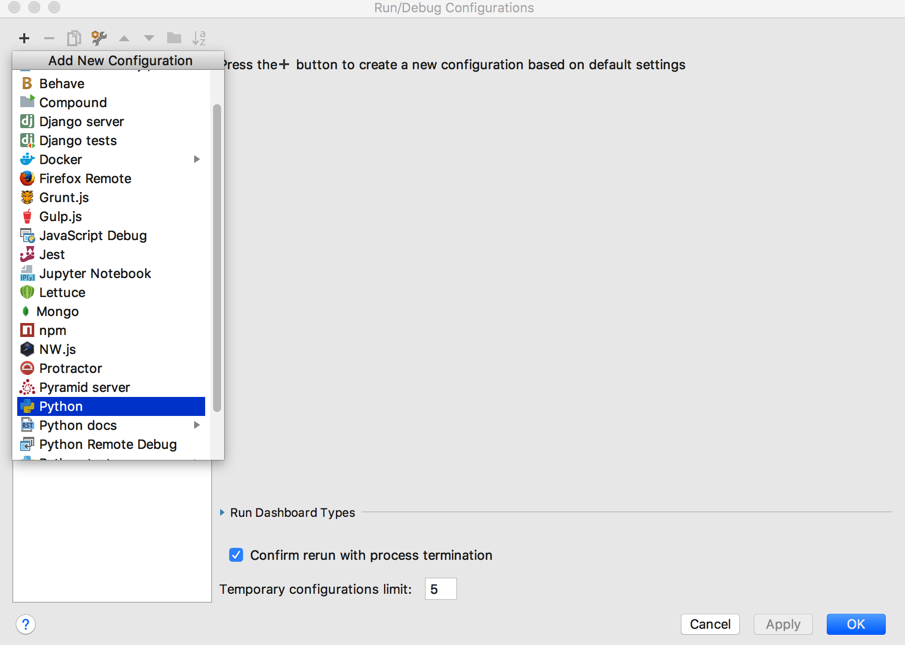
点击+创建一个Python的:
写具体的测试命令之前,先去Mac中的shell中看看如何运行:
<code>➜  robotDemo which python
/Users/crifan/.local/share/virtualenvs/robotDemo-HXjMJQEQ/bin/python
➜  robotDemo pipenv --where
/Users/crifan/dev/dev_root/company/naturling/projects/robotDemo
➜  robotDemo pipenv run testRestApi.py
Error: the command testRestApi.py could not be found within PATH or Pipfile's [scripts].
➜  robotDemo pipenv run ./testRestApi.py
Error: the command ./testRestApi.py could not be found within PATH or Pipfile's [scripts].
➜  robotDemo pipenv run python testRestApi.py
 * Running on http://127.0.0.1:5000/ (Press CTRL+C to quit)

</code>

本地,在pipenv的shell中用:
<code>pipenv run python testRestApi.py
</code>
是可以运行的。
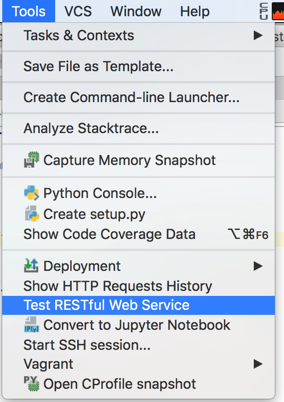
那去postman或者PyCharm自带的rest的api测试工具,测试test接口看看是否工作
结果好像运行出错啊:
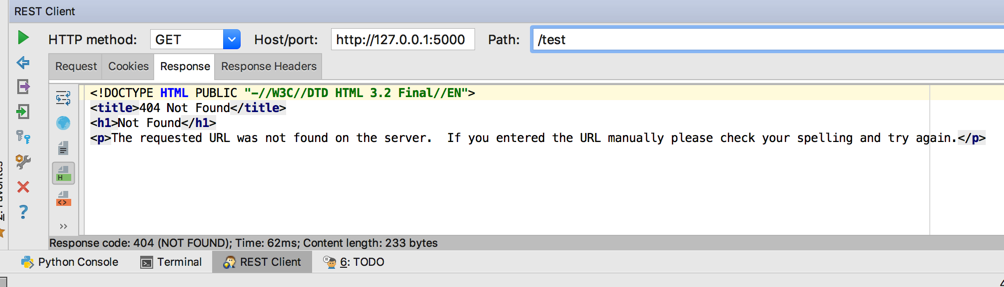
倒是shell中也同步输出了log信息:

<code>➜  robotDemo pipenv run python testRestApi.py
 * Running on http://127.0.0.1:5000/ (Press CTRL+C to quit)
127.0.0.1 - - [17/Apr/2018 16:00:46] "GET /resources HTTP/1.1" 404 -
127.0.0.1 - - [17/Apr/2018 16:01:12] "GET /test HTTP/1.1" 404 -
</code>
自己傻了,此处路径是/,而不是 /test,test只是函数而已
所以改为:
host+port:http://127.0.0.1:5000
path:/
即可:
log是:
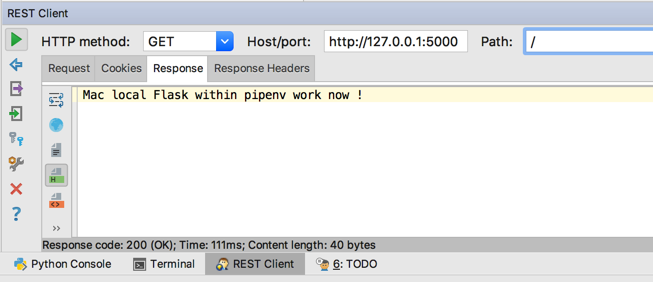
<code>127.0.0.1 - - [17/Apr/2018 16:19:29] "GET / HTTP/1.1" 200 -
</code>
然后再去,不用pipenv shell进去,直接在外部用pipenv,看看能否运行:
改了代码后:
<code>from flask import Flask

app = Flask(__name__)


@app.route("/test")
def test():
    return "Mac local Flask within pipenv work now !"


if __name__ == "__main__":
    app.run()
</code>
去shell中运行后,去PyCharm中测试,是可以的:
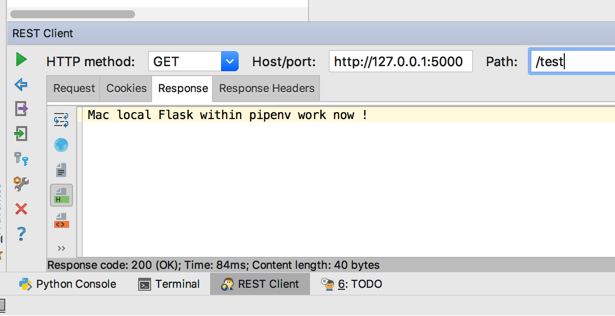
shell的输出:
<code>➜  robotDemo pipenv run python testRestApi.py
</code>
* Running on http://127.0.0.1:5000/ (Press CTRL+C to quit)
127.0.0.1 – – [17/Apr/2018 16:23:26] “GET /test HTTP/1.1” 200 –
-》说明,由于pipenv中是python3的环境,python就是python3,所以可以用:
pipenv run python xxx
去运行此处的python3的代码。
-》说明此处只少是可以写命令到调试参数中,实现调试的
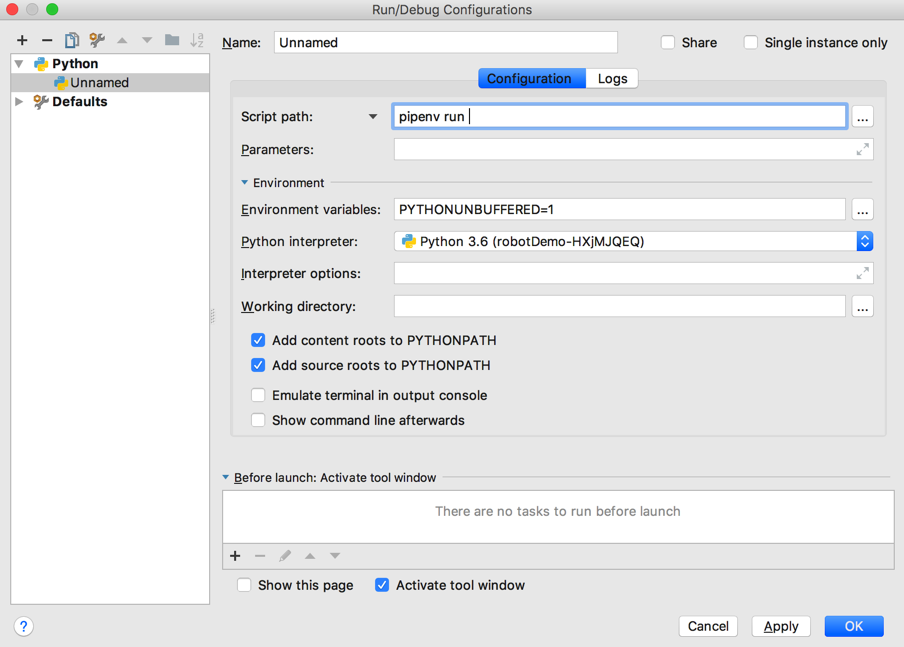
再去PyCharm中配置:
输入命令:pipenv run python testRestApi.py
确定用的是当前的虚拟环境的python解析器:Python 3.6(robotDemo-xxx)
如图:
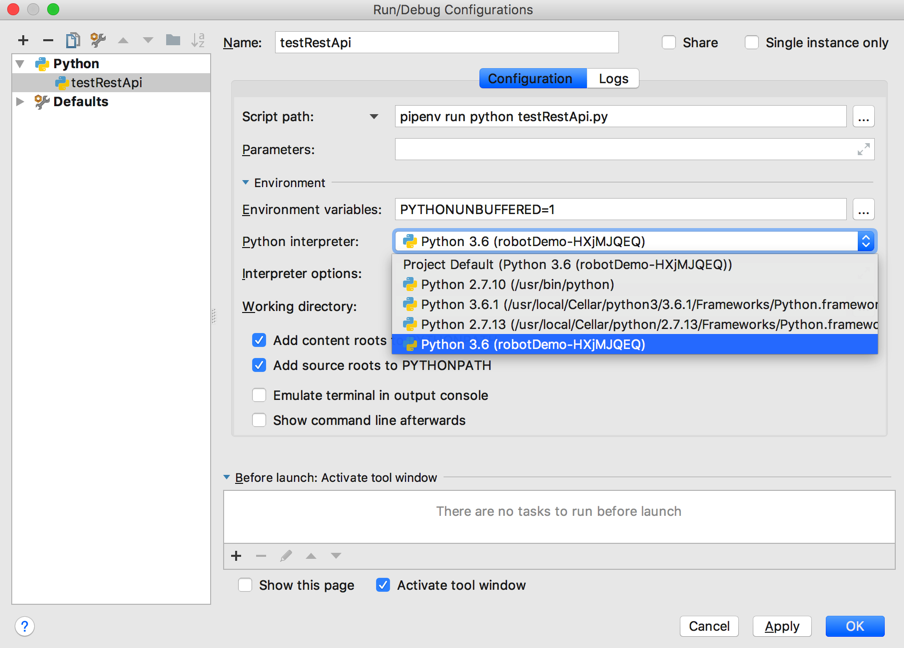
Script Path:pipenv run python testRestApi.py
Environment variables:PYTHONUNBUFFERED=1
Python interpreter: Python 3.6(robotDemo-xxx)
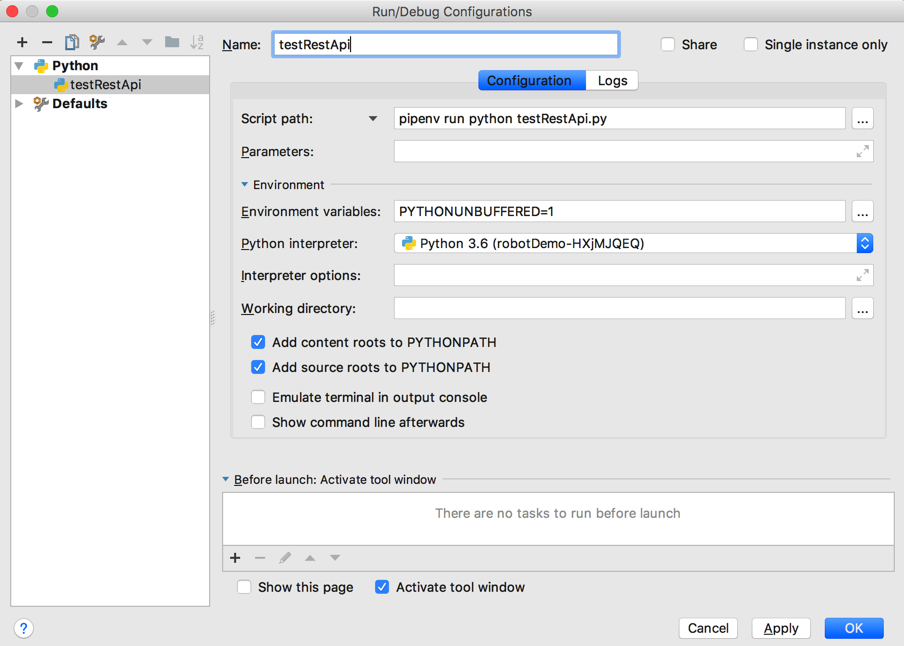
保存后,然后点击调试或Control+D,去调试:
结果找不到文件:testRestApi.py
【总结】
此处在Mac本地,已经用pipenv创建了一个项目,对应有个虚拟环境
在PyCharm中,想要调试该项目中的python3的文件的话:
1.新建一个PyCharm的python(的Flask)项目
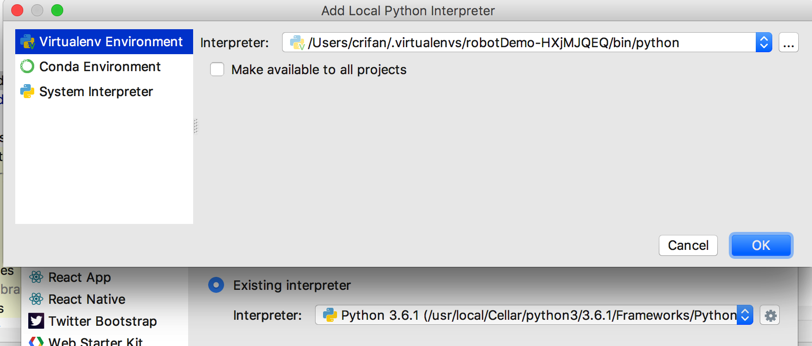
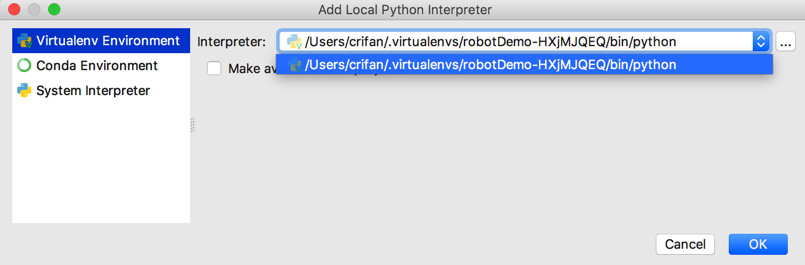
File->New Project ->Flask ->输入 Location为项目所在目录,点击Existing interpreter的设置-》Add Local ->Virtualenv Environment
-〉Interpreter:(此处自动检测为)/Users/crifan/.local/share/virtualenvs/robotDemo-HXjMJQEQ/bin/python
注:可以通过
<code>pipenv --venv
</code>
查的到
-》Create
即可新的Python项目,用的是pipenv的虚拟环境。
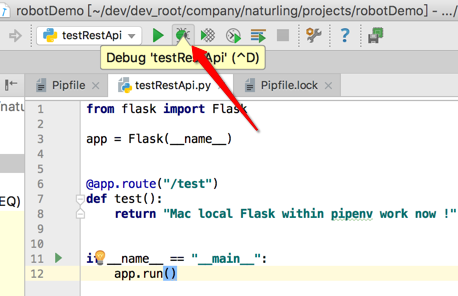
2.直接点击此处的测试代码:
<code>from flask import Flask

app = Flask(__name__)


@app.route("/test")
def test():
    return "Mac local Flask within pipenv work now !"


if __name__ == "__main__":
    app.run()
</code>
的if前面的运行图标,PyCharm即可自动生成对应debug配置,自动去运行配置。
-》如果想要自己添加debug配置的话,可以去设置:
Name:随便设置个名字即可,比如此处的:testRestApi
Script Path: /Users/crifan/dev/dev_root/company/naturling/projects/robotDemo/testRestApi.py
Environment vatiables: PYTHONUNBUFFERED=1
Working directory: /Users/crifan/dev/dev_root/company/naturling/projects/robotDemo
如图:
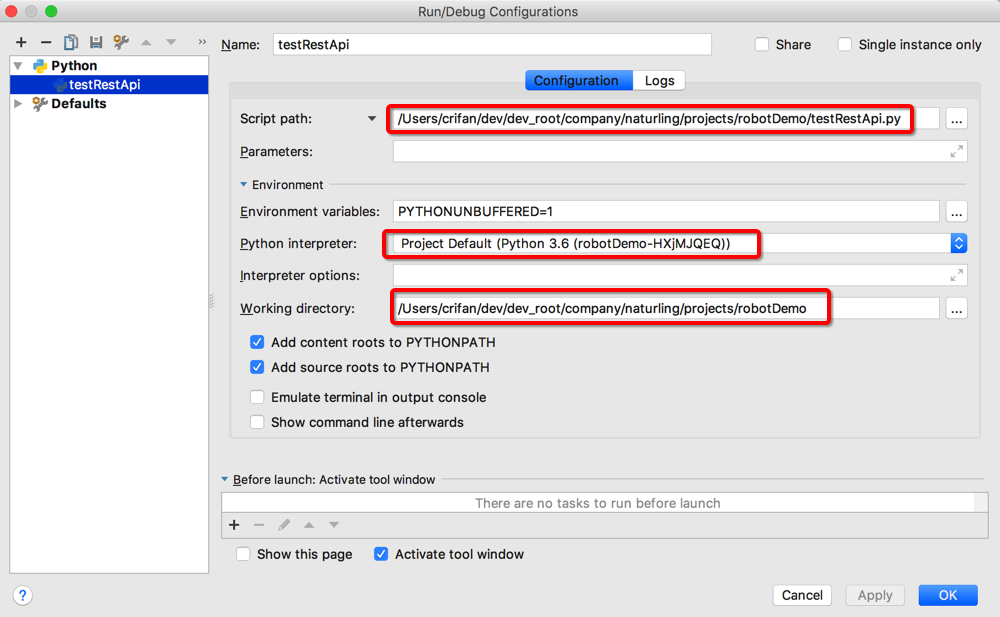
即可。