折腾:
【未解决】VSCode中用Java的Spring Boot搭建智能电力系统后端框架
期间,继续去操作mysql数据库
参考教程
【已解决】Spring Boot中操作MySQL的几种方式
新的Spring的IDE: Spring Tool Suite (STS)
➜  ~ mysql --password
Enter password:
ERROR 2002 (HY000): Can't connect to local MySQL server through socket '/tmp/mysql.sock' (2)
➜  ~ mysql
ERROR 2002 (HY000): Can't connect to local MySQL server through socket '/tmp/mysql.sock' (2)
➜  ~ mysql -u root -p
Enter password:
ERROR 2002 (HY000): Can't connect to local MySQL server through socket '/tmp/mysql.sock' (2)
➜  ~ mysql -u root -p
Enter password:
ERROR 2002 (HY000): Can't connect to local MySQL server through socket '/tmp/mysql.sock' (2)
登录失败。
去启动mysql
➜  ~ /usr/local/mysql/support-files/mysql.server start
Starting MySQL
 SUCCESS!
➜  ~ /usr/local/mysql/support-files/mysql.server status
 SUCCESS! MySQL running (47768)
然后可以登录了:
➜  ~ mysql -u root -p
Enter password:
Welcome to the MySQL monitor.  Commands end with ; or \g.
Your MySQL connection id is 2
Server version: 5.7.22 MySQL Community Server (GPL)

Copyright (c) 2000, 2018, Oracle and/or its affiliates. All rights reserved.

Oracle is a registered trademark of Oracle Corporation and/or its
affiliates. Other names may be trademarks of their respective
owners.

Type 'help;' or '\h' for help. Type '\c' to clear the current input statement.

mysql>
不过记得此处Mac中,之前又安装过了最新的MySQL
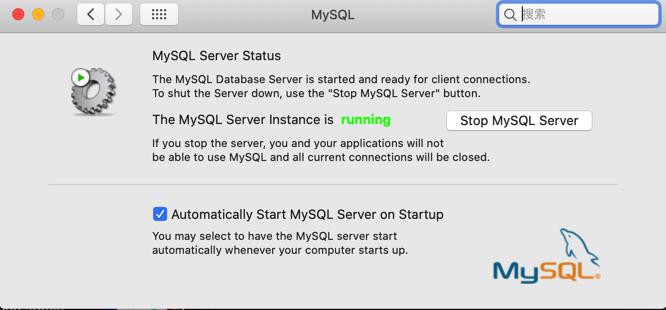
好像是8.0的MySQL的
所以要去搞清楚,如何启动此处8.0的MySQL
mac mysql 8.0
此处命令行中
➜  ~ which mysql
/usr/local/mysql/bin/mysql
➜  ~ mysql -V
mysql  Ver 14.14 Distrib 5.7.22, for macos10.13 (x86_64) using  EditLine wrapper
mysql只是5.7.22
回头看
【记录】mac搭建开发环境:安装MySQL
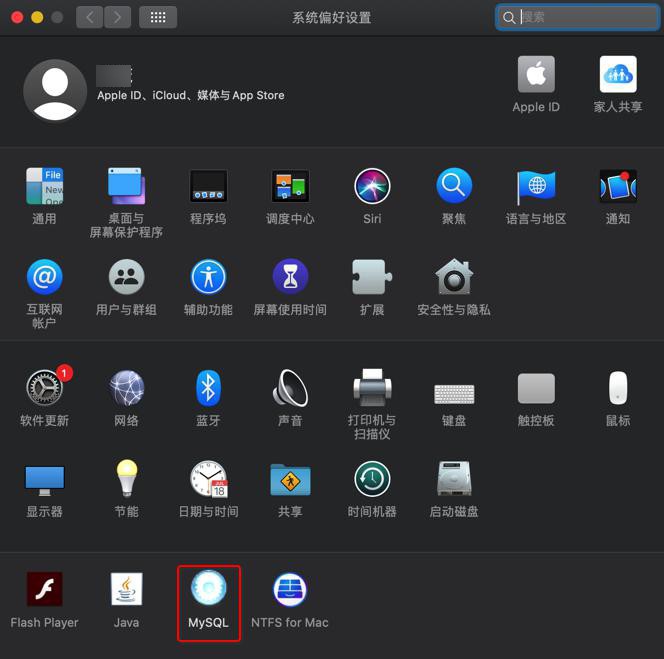
发现之前点击设置中mysql是:
而现在不是。
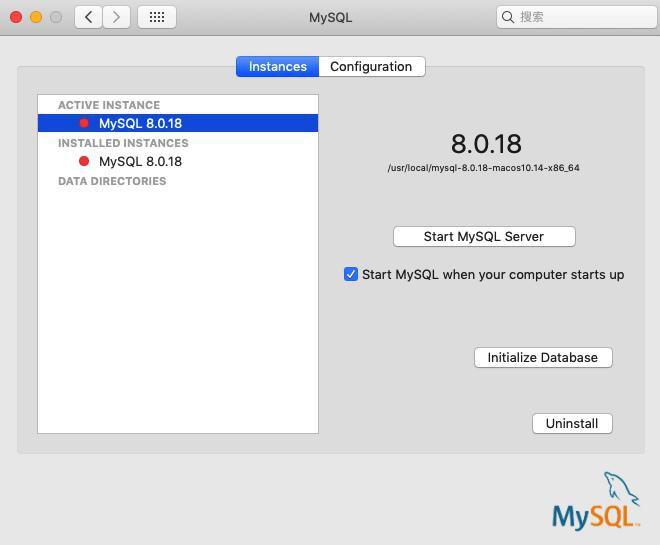
不过突然意识到了:
之前是公司的Mac中安装的MySQL是8.0
而不是自己的mac,自己的mac就是5.7.22
【总结】
确保此处mac中已安装MySQL后:
去新建数据库和用户,且授权:
mysql> show databases;
+--------------------+
| Database           |
+--------------------+
| information_schema |
...
| performance_schema |
...
| sys                |
+--------------------+
11 rows in set (0.02 sec)


mysql> create database smart_electric;
Query OK, 1 row affected (0.00 sec)


mysql> show databases;
+--------------------+
| Database           |
+--------------------+
| information_schema |
...
| smart_electric     |
| sys                |
+--------------------+
12 rows in set (0.00 sec)


mysql> create user 'xxx'@'%' identified by 'sepwd';
Query OK, 0 rows affected (0.01 sec)


mysql> grant all on smart_electric.* to 'xxx'@'%';
Query OK, 0 rows affected (0.00 sec)
最后去加上:
配置:
src/server/xxx/xxx/pom.xml
        <dependency>
            <groupId>org.springframework.boot</groupId>
            <artifactId>spring-boot-starter-data-jpa</artifactId>
        </dependency>
        <dependency>
            <groupId>mysql</groupId>
            <artifactId>mysql-connector-java</artifactId>
            <scope>runtime</scope>
        </dependency>
src/server/xxx/xxx/src/main/resources/application.properties
...
spring.jpa.hibernate.ddl-auto=update
spring.datasource.url=jdbc:mysql://${MYSQL_HOST:localhost}:3306/smart_electric
spring.datasource.username=xxx
spring.datasource.password=sepwd
代码:
src/server/xxx/xxx/src/main/java/com/crifan/xxx/IEC104.java
package com.crifan.xxx;

import javax.persistence.Entity;
import javax.persistence.GeneratedValue;
import javax.persistence.GenerationType;
import javax.persistence.Id;

@Entity // This tells Hibernate to make a table out of this class
public class IEC104 {
  @Id
  @GeneratedValue(strategy=GenerationType.AUTO)
  private Integer id;
  private String data;
  private String parseResult;

  public Integer getId() {
    return id;
  }

  public void setId(Integer id) {
    this.id = id;
  }

  public String getData() {
    return data;
  }

  public void setData(String data) {
    this.data = data;
  }

  public String getParseResult() {
    return parseResult;
  }

  public void setParseResult(String parseResult) {
    this.parseResult = parseResult;
  }
}
src/server/xxx/xxx/src/main/java/com/crifan/xxx/IEC104Repository.java
package com.crifan.xxx;

import org.springframework.data.repository.CrudRepository;

import com.crifan.xxx.IEC104;

// This will be AUTO IMPLEMENTED by Spring into a Bean called userRepository
// CRUD refers Create, Read, Update, Delete
public interface IEC104Repository extends CrudRepository<IEC104, Integer> {
}
src/server/xxx/xxx/src/main/java/com/crifan/xxx/IEC104Controller.java
package com.crifan.xxx;
import java.util.Map;
import org.apache.catalina.User;
import org.springframework.beans.factory.annotation.Autowired;
import org.springframework.stereotype.Controller;
import org.springframework.web.bind.annotation.GetMapping;
import org.springframework.web.bind.annotation.PostMapping;
import org.springframework.web.bind.annotation.RequestBody;
import org.springframework.web.bind.annotation.RequestMapping;
// import org.springframework.web.bind.annotation.RequestParam;
import org.springframework.web.bind.annotation.ResponseBody;
import org.slf4j.Logger;
import org.slf4j.LoggerFactory;
@Controller // This means that this class is a Controller
@RequestMapping(path="/iec104") // This means URL's start with / (after Application path)
public class IEC104Controller {
private static Logger logger = LoggerFactory.getLogger(GreetingController.class.getName());
@Autowired // This means to get the bean called userRepository
// Which is auto-generated by Spring, we will use it to handle the data
private IEC104Repository iec104Repository;
@PostMapping(path="/add") // Map ONLY POST Requests
public @ResponseBody String addNewIEC104 (
// @RequestParam String data
// @RequestParam String data,
// @RequestParam String parseResult
@RequestBody Map<String, Object> payload
) {
// @ResponseBody means the returned String is the response, not a view name
// @RequestParam means it is a parameter from the GET or POST request
logger.info("post iec104: payload={}", payload);
String data = (String) payload.get("data");
IEC104 newIec104 = new IEC104();
newIec104.setData(data);
String parseResult = "to replace parsed result";
newIec104.setParseResult(parseResult);
iec104Repository.save(newIec104);
return "Saved";
}
@GetMapping(path="/all")
public @ResponseBody Iterable<IEC104> getAllIec104() {
// This returns a JSON or XML with the users
return iec104Repository.findAll();
}
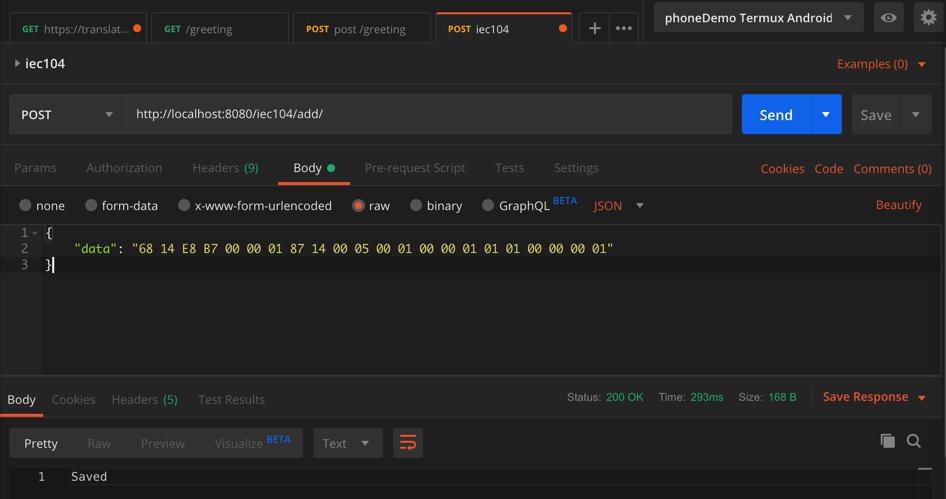
}测试
{
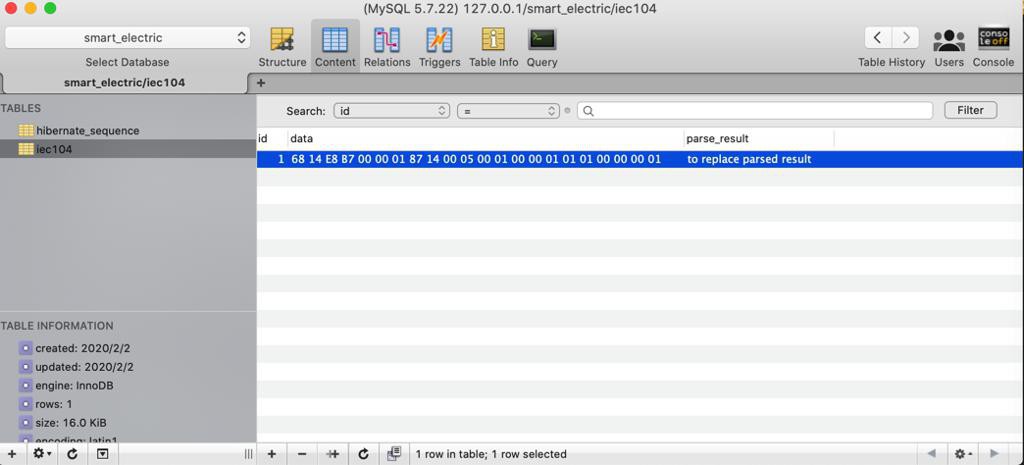
"data": "68 14 E8 B7 00 00 01 87 14 00 05 00 01 00 00 01 01 01 00 00 00 01"
}结果:
可以返回Saved:
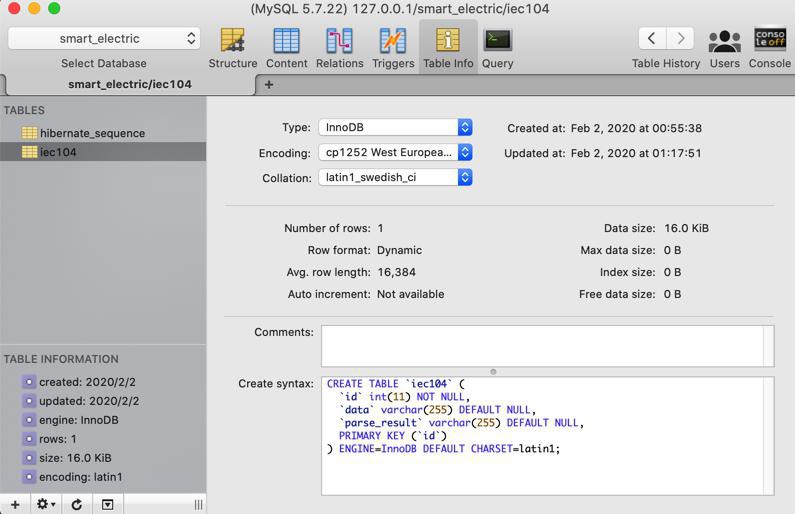
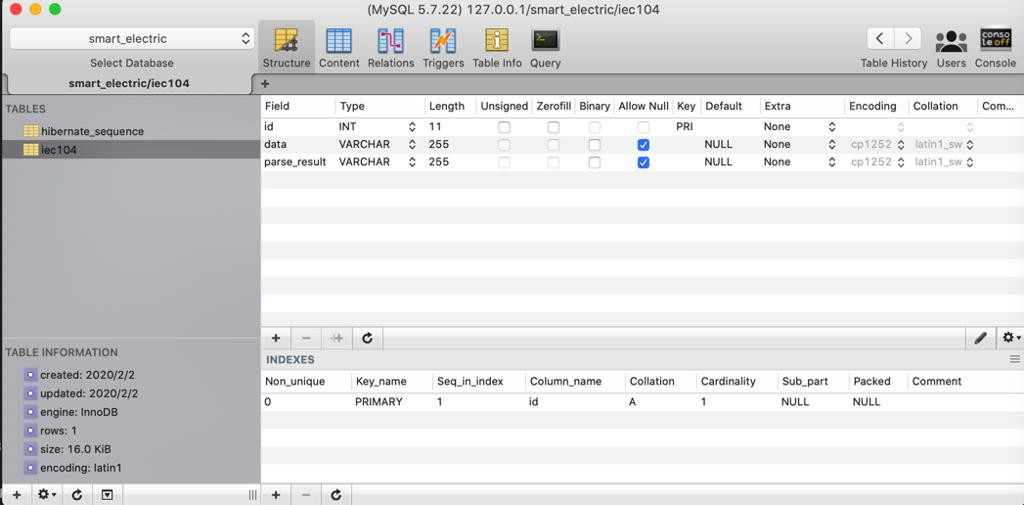
对应的数据库中也生成表结构:
和数据了:
然后再去测试get,也是OK的:
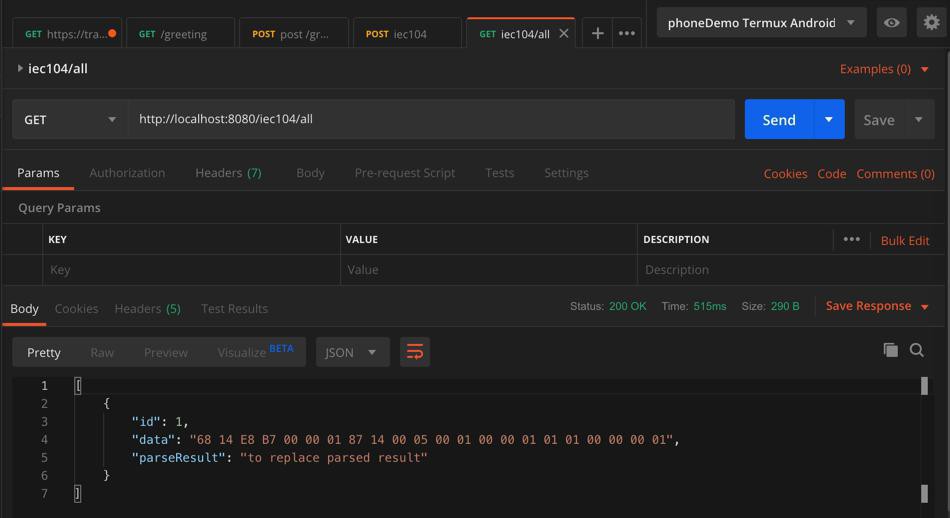
至此,算是:
基本上可以用Spring Boot中,用JPA操作mysql了。
不过还要:
【已解决】Spring Boot中JPA中指定生成MySQL表结构的Charset和Encoding以及Collation
转载请注明:在路上 » 【已解决】spring boot中添加访问操作mysql数据库