折腾:
期间,安装了OneinStack后,接着去开启和配置域名
[root@VM_0_10_centos ~]# pwd
/root
[root@VM_0_10_centos ~]# cd oneinstack/
[root@VM_0_10_centos oneinstack]# ll
total 3384
-rwxr-xr-x 1 root root   25082 Dec  5 15:53 addons.sh
-rwxr-xr-x 1 root root   18475 Dec  5 15:53 backup_setup.sh
-rwxr-xr-x 1 root root    7857 Dec  5 15:53 backup.sh
drwxr-xr-x 2 root root    4096 Dec  5 15:53 config
drwxr-xr-x 2 root root    4096 Dec  5 15:53 include
drwxr-xr-x 2 root root    4096 Dec  5 15:53 init.d
-rw-r--r-- 1 root root 3205084 Dec  5 21:52 install.log
-rwxr-xr-x 1 root root   43738 Dec  5 15:53 install.sh
-rw-r--r-- 1 root root   11358 Dec  5 15:53 LICENSE
-rw-r--r-- 1 root root    2395 Dec  5 21:30 options.conf
-rwxr-xr-x 1 root root    5515 Dec  5 15:53 pureftpd_vhost.sh
-rw-r--r-- 1 root root    5480 Dec  5 15:53 README.md
-rwxr-xr-x 1 root root    4927 Dec  5 15:53 reset_db_root_password.sh
drwxr-xr-x 2 root root    4096 Dec  5 21:52 src
-rwxr-xr-x 1 root root   10357 Dec  5 15:53 ss.sh
drwxr-xr-x 2 root root    4096 Dec  5 15:53 tools
-rwxr-xr-x 1 root root   16079 Dec  5 15:53 uninstall.sh
-rwxr-xr-x 1 root root    4698 Dec  5 15:53 upgrade.sh
-rw-r--r-- 1 root root    1786 Dec  5 15:53 versions.txt
-rwxr-xr-x 1 root root   47501 Dec  5 15:53 vhost.sh
[root@VM_0_10_centos oneinstack]# ./vhost.sh
接着配置
#######################################################################
#       OneinStack for CentOS/RedHat 6+ Debian 7+ and Ubuntu 12+      #
#       For more information please visit https://oneinstack.com      #
#######################################################################

What Are You Doing?
        1. Use HTTP Only
        2. Use your own SSL Certificate and Key
        3. Use Let's Encrypt to Create SSL Certificate and Key
        q. Exit
Please input the correct option: 3

Please input domain(example: www.example.com): xxx
domain=xxx

Please input the directory for the domain:xxx :
(Default directory: /data/wwwroot/xxx):
Virtual Host Directory=/data/wwwroot/xxx

Create Virtul Host directory......
set permissions of Virtual Host directory......

Do you want to add more domain name? [y/n]: n

Do you want to redirect all HTTP requests to HTTPS? [y/n]: n
此处之所以不选择强制全部https,主要是考虑到:
国内的(腾讯云或阿里云)的https,好像都是(被和谐处理了)导致访问很慢
倒是http很快,所以还是保留http连接地址
[Wed Dec  5 22:11:43 CST 2018] Registering account
[Wed Dec  5 22:11:45 CST 2018] Registered
[Wed Dec  5 22:11:45 CST 2018] ACCOUNT_THUMBPRINT='--D6F2YmNZGtXEJhYMwewXkF09pzVsSWKNgvbpOfpS4'
[Wed Dec  5 22:11:45 CST 2018] Creating domain key
[Wed Dec  5 22:11:45 CST 2018] The domain key is here: /root/.acme.sh/xxx/xxx.key
[Wed Dec  5 22:11:45 CST 2018] Single domain='xxx'
[Wed Dec  5 22:11:45 CST 2018] Getting domain auth token for each domain
[Wed Dec  5 22:11:45 CST 2018] Getting webroot for domain='xxx'
[Wed Dec  5 22:11:45 CST 2018] Getting new-authz for domain='xxx'
[Wed Dec  5 22:11:47 CST 2018] The new-authz request is ok.
[Wed Dec  5 22:11:47 CST 2018] Verifying:xxx
[Wed Dec  5 22:11:50 CST 2018] Success
[Wed Dec  5 22:11:50 CST 2018] Verify finished, start to sign.
[Wed Dec  5 22:11:52 CST 2018] Cert success.
-----BEGIN CERTIFICATE-----
MIIFTzC。。。CwUA
...
8Iw。。。7P+IN
C54MOt/75Emaw6ze36UhlYOVzw==
-----END CERTIFICATE-----
[Wed Dec  5 22:11:52 CST 2018] Your cert is in  /root/.acme.sh/xxx/xxx.cer
[Wed Dec  5 22:11:52 CST 2018] Your cert key is in  /root/.acme.sh/xxx/xxx.key
[Wed Dec  5 22:11:53 CST 2018] The intermediate CA cert is in  /root/.acme.sh/xxx/ca.cer
[Wed Dec  5 22:11:53 CST 2018] And the full chain certs is there:  /root/.acme.sh/xxx/fullchain.cer

Do you want to add hotlink protection? [y/n]: n

Allow Rewrite rule? [y/n]: y

Please input the rewrite of programme :
wordpress,opencart,magento2,drupal,joomla,laravel,thinkphp,pathinfo,discuz,typecho,ecshop,nextcloud rewrite was exist.
(Default rewrite: other): wordpress
You choose rewrite=wordpress

Allow Nginx/Tengine/OpenResty access_log? [y/n]: y
You access log file=/data/wwwlogs/xxx_nginx.log

nginx: the configuration file /usr/local/nginx/conf/nginx.conf syntax is ok
nginx: configuration file /usr/local/nginx/conf/nginx.conf test is successful
Reload Nginx......

#######################################################################
#       OneinStack for CentOS/RedHat 6+ Debian 7+ and Ubuntu 12+      #
#       For more information please visit https://oneinstack.com      #
#######################################################################
Your domain:                  xxx
Virtualhost conf:             /usr/local/nginx/conf/vhost/xxx.conf
Directory of:                 /data/wwwroot/xxx
Rewrite rule:                 /usr/local/nginx/conf/rewrite/wordpress.conf
Let's Encrypt SSL Certificate:/usr/local/nginx/conf/ssl/xxx.crt
SSL Private Key:              /usr/local/nginx/conf/ssl/xxx.key
好像就好了?
结果遇到:
【已解决】OneinStack安装虚拟主机域名vhost后访问主页403 forbidden nginx
然后就可以了:


【总结】
此处就只需要:
cd oneinstack/
./vhost.sh
然后选择合适的配置后,即可添加完毕。
然后由于之前已经把域名解析设置好:
域名:
xxx已指向当前服务器
所以即可直接去打开域名了。
新建的根目录下:
/data/wwwroot/xxx/
直接访问域名会导致无文件打开,会403 forbidden错误的。
所以要先去弄个可用打开的文件:
cp /data/wwwroot/default/index.html /data/wwwroot/xxx/
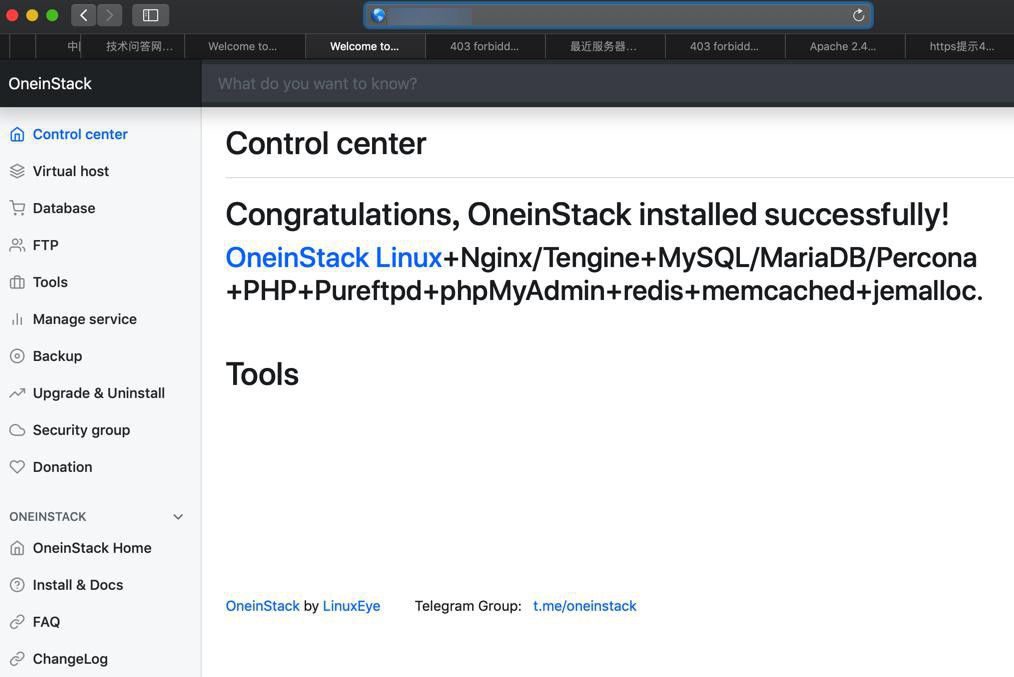
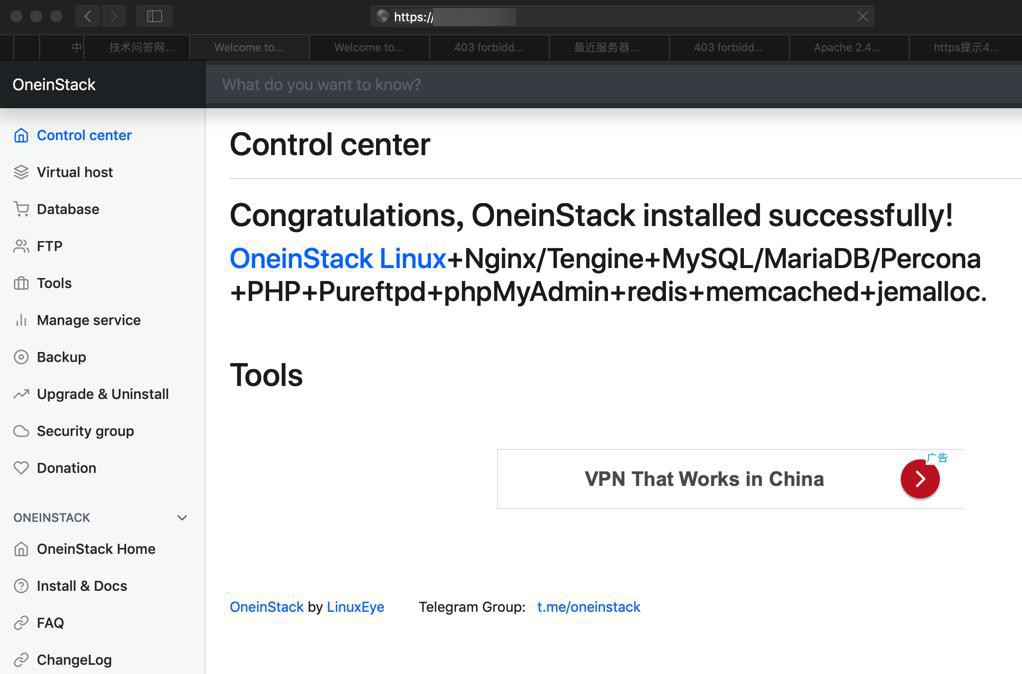
然后就可以正常打开http和https的地址了:
转载请注明:在路上 » 【已解决】OneinStack中安装配置虚拟主机域名